Hpl2:Tutorials:level editor:level editor 101
Contents
Level Editor 101 - Basics to Advanced
Foreword
I know this first one is going to look a bit like a large wall of text, I'm sorry, but there's not much to show off in pictures when it comes to interface. There will be plenty of pictures later, though.
This tutorial will cover both beginner and advanced methods for the majority of things in the level editor. Even if you have no experience with modding, you should be able to follow these tutorials. If you can't, either you skipped a section of the tutorial, or there's something wrong with my tutorial. You can PM me on the FG forum (Kiandra) and let me know what I need to clarify.
For the sake of not swamping everyone with everything, I'm going to start with the absolute basics. If you haven't downloaded the level editing suite, you can do so here. There are adequate instructions on the linked page on how to download and install the editing suite, so I won't be covering that in this tutorial.
If you wish to add to this page or would like to see your tutorial in the Useful Links Section (coming soon), feel free to edit this page and give yourself credit. Just try to stick with the same format used by the rest of the tutorial.
Part 1: The Level Editor's Interface
Okay, so I'm hoping you know where the level editor is. For windows users, like me, it's C:/Program Files (x86)/Amnesia - The Dark Descent/redist just double-click on the level editor application not the PDB file to get started.
Part 1A: Level Editor Buttons
 So what is this thing, exactly? It's a lot of buttons! We'll go through each one of them in a bit of detail. Don't panic about needing to know all of them right off the bat, I'll refer back to the hotkeys and appearances of the buttons every time they're used in the basic tutorials. You'll become more familiar with them as you use them.
As we go through them, I will start with the buttons in the left side-bar and move counter-clockwise to the bottom bar, then right side-bar, then the top menu. It would be beneficial if you follow along in the level editor and click on the buttons or press the hotkeys when they're mentioned.
Don't worry if your screen doesn't look exactly like mine. I have the perspective viewport enlarged (you can do this by hovering your cursor over the bottom right quadrant and pressing spacebar). To enlarge the pictures beside each tool, you can right-click and select Open Image in New Tab.
We'll go over each of these buttons in more detail as they become relevant.
Left Menu Bar
1. Select Tool[1]
Hotkey: 1
Button Appearance: White, triangle-shaped pointer
What it does: You can click on anything and move it, duplicate it, turn it, or stretch it
2. Lights[2]
Hotkey: 2
Button Appearance: Yellow light bulb
What it does: allows you to add lights so your map isn't a pitch black when you load it
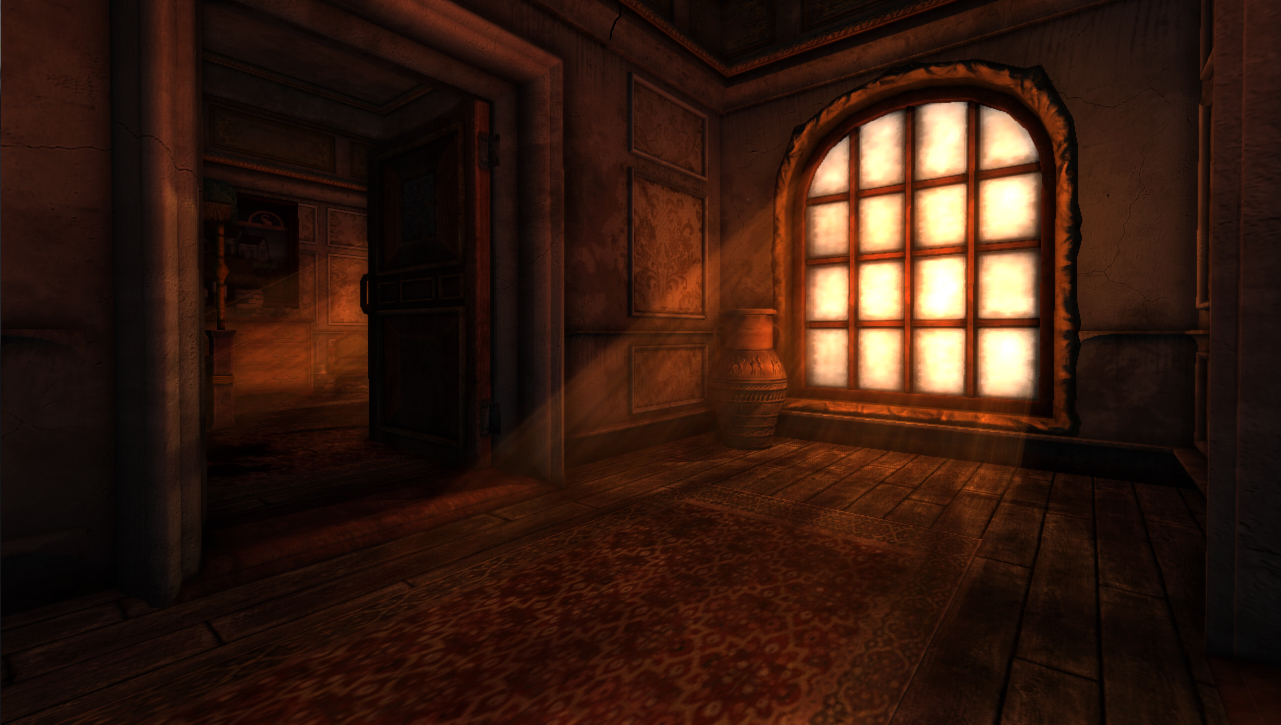
3. Billboards [3]
Hotkey: 3
Button Appearance: White rectangle
What it does: The stream-like things coming from the window as displayed in this link.
4. Particles [4]
Hotkey: 4
Button Appearance: Blue atom-like thing
What it does: Makes neat special effects like fire, smoke, fog, dust, and water droplets
5. Sounds [5]
Hotkey: 5
Button Appearance: Grey megaphone
What it does: Places different, looping sound effects (like ambient noise) around the map, causing a 3D effect with the sound
6. Static Objects[6]
Hotkey: 6
Button Appearance: Red Lego brick
What it does: Brings up a menu on that large blank right-hand column which will let you place in objects that cannot be interacted with, such as walls, pillars, door frames, stairs, and railings.
7. Entities[7]
Hotkey: 7
Button Appearance: A little white ghost
What it does: Brings up the menu for objects which can be interacted with (mostly), such as furniture, paintings, lamps, monsters, tinder boxes, lanterns, in-game items, and notes
8. Areas [8]
Hotkey: 8
Button Appearance: Transparent-looking box
What it does: creates the super important player start areas, script areas, ladder areas, water areas, etc
9. Primitives [9]
Hotkey: 9
Button Appearance: A cone and a cylinder
What it does: Places in the visual effect for deep and large pools of water, add ceilings, floors, and ground to large areas with more texture options, pretty much whatever you think a flat piece of repeating pattern could be useful for
10. Decals [10]
Hotkey: 0
Button Appearance: A black goo splat
What it does: Allows you to place images that wrap around surfaces, such as blood and dirt stains
11. Fog Areas [11]
Hotkey: Ctrl+1
Button Appearance: Cloud
What it does: Creates an area filled with fog
12. Combine [12]
Hotkey: Ctrl+2
Button Appearance: two arrows, a blue and a red, facing each other
![[1]](http://fc08.deviantart.net/fs70/f/2013/146/0/3/selecttool_by_rueppells_fox-d66ofdh.jpg?direct&117x80)
![[2]](http://fc01.deviantart.net/fs70/f/2013/146/2/7/lights_by_rueppells_fox-d66ogoj.jpg?direct&117x80)
![[3]](http://fc07.deviantart.net/fs71/f/2013/146/9/f/billboards_by_rueppells_fox-d66oigz.jpg?direct&117x80)
![[4]](http://fc00.deviantart.net/fs71/f/2013/146/6/3/particlesystem_by_rueppells_fox-d66ojf8.jpg?direct&117x80)
![[5]](http://fc07.deviantart.net/fs70/f/2013/146/a/3/sounds_by_rueppells_fox-d66ojy2.jpg?direct&117x80)
![[6]](http://fc01.deviantart.net/fs71/f/2013/146/a/b/static_objects_by_rueppells_fox-d66okdx.jpg?direct&117x80)
![[7]](http://fc08.deviantart.net/fs70/f/2013/146/d/9/entites_by_rueppells_fox-d66okvt.jpg?direct&117x80)
![[8]](http://fc04.deviantart.net/fs70/f/2013/146/d/8/areas_by_rueppells_fox-d66omx2.jpg?direct&117x80)
![[9]](http://fc08.deviantart.net/fs70/f/2013/146/3/b/primitives_by_rueppells_fox-d66oneb.jpg?direct&117x80)
![[10]](http://fc00.deviantart.net/fs71/f/2013/146/7/1/decals_by_rueppells_fox-d66onow.jpg?direct&117x80)
![[11]](http://fc07.deviantart.net/fs71/f/2013/146/4/5/fogarea_by_rueppells_fox-d66ooim.jpg?direct&117x80)
![[12]](http://fc06.deviantart.net/fs71/f/2013/146/b/f/combine_by_rueppells_fox-d66oot3.jpg?direct&117x80)
Bottom Menu Bar
1. Grid Planes
Hotkey: none
Button Appearance: an XY, YZ, or XZ depending on which plane you're using
What it does: Cycles through grid planes - changes how objects move when you're placing them (vertical or horizontal)
2. Toggle Grid Snapping
Hotkey: none
Button Appearance: U-magnet
What it does: Changes whether objects will "snap" to the grid (move in multiples of 0.25). When it's deselected, you can move objects by multiples of 0.001
3. Height
Hotkey: none
Button Appearance: White text box with a 0 in it currently
What it does: Changes the height of the grid. Standard walls in Amnesia are 4 tall and 4 wide. You can change whether the grid is visible by pressing G
4. Snap Separation
Hotkey: none
Button Appearance: White text box with 0.25 currently in it
What it does: Changes the distance between grid spaces (precision of grid-snapping), most useful as 0.125 or 0.25
5. Enlarge Current Viewport
Hotkey: Spacebar
Button Appearance: Two white boxes stacked on each other
What it does: Makes the box which is highlighted red (because your cursor is hovering over it) fill up the screen
6. A - Ambient Light
Hotkey: None
Button Appearance: A capital A
What it does: Toggles between having the ambient boxlight; the one that makes everything evenly bright so there's no black-holes-of-doom (more on these later)
7. Global Pointlight
Hotkey: None
Button Appearance: A capital P
What it does: Toggles the global pointlight; this one enhances normal maps. Translation: it makes flat things look 3D.
Note: the global pointlight and ambient light do not show up in-game; only in the level editor
8. Focus
Hotkey: F
Button Appearance: A capital F
What it does: Zooms the camera so that the selected object fills your view. This button is indispensable if you don't have a mouse or middle mouse button (the one used to pan)
9. Lock Tracking Grid
Hotkey: None
Button Appearance: An LT
What it does: Your view will move according to the grid's height if this is selected
10. Clip Planes
Hotkey: None
Button Appearance: The +/- buttons beside the drop-down menu
What it Does: Causes certain parts of the map to turn invisible; useful when you're making very large maps and file size is causing lag
11. Faded Buttons
Hotkeys: None
Button Appearance: The faded buttons which become more distinct when a clip plane is created. We'll go over these in detail later.
Right Side-Bar Menu
The large, dark-grey area is where item-specific menus will show up. Each of these menus will be covered as they become relevant; I don't want to throw too much information at you all at once :p
Select Object Type
Co = grouped objects
Li = lights
Bi = billboards
Pa = particle systems
So = sound
St = static object
En = entities
Ar = area
Pr = primitive
De = decal
Fo = fog area
Edit Menu
Undo
Hotkey: Ctrl+Z
What it Does: Undoes your previous actions, including selections and focusing on objects
Redo
Hotkey: Ctrl+Y
What it Does: Reverses Undo
Delete
Hotkey: Backspace or Delete
What it Does: Deletes selected object(s)
Duplicate
Hotkey: Ctrl+D
What it Does: Replicates selected object(s)
Create/Destroy Compound
Hotkey: B
What it Does: Groups objects together so that selecting one of them will select all of them; compounds are outlined in red
Find Objects
Hotkey: Ctrl+F
What it Does: brings up a search menu so you can find objects by type or name
Browse Groups
Hotkey: none
What it Does: Allows you to search up and manage specific compounds
Level Settings
Hotkey: none
What it Does: There are several functions. The Skybox menu allows you to select a skybox. Indoor maps do not need skyboxes unless the windows are transparent. It's just a waste of memory. Fog toggles the global fog and all its variables. It's like a never-ending fog area. Decals changes the maximum number of triangles allowed in your decals. Translation: changes how much memory and how complex your decals are.
Options
Hotkey: none
What it Does: allows you to change certain level editor options. These are handy for making the level editor actually fit your screen.
File Menu
New
Hotkey: none
What it Does: Create a new, empty map
Open
Hotkey: none
What it Does: Opens a previously saved .map file, including those made by FG. Go take a look at them some time; they're useful case studies.
Save
Hotkey: Ctrl+S
What it Does: Saves your map. Save early, save often - especially with the level editor (it crashes quite frequently on my computer)
Save As
Hotkey: none
What it Does: Saves your map under a different file name. If you mess around with someone else's map (which is not okay without their permission), always save as something else before making any changes. That way, you don't do what I did and delete the entire Cellar area of ATDD (I was experimenting with lighting).
Open Recent
Hotkey: none
What it Does: opens a drop-down menu of recently saved maps. If this is your first time on the level editor, the menu will be blank.
Import Objects
Hotkey: none
What it Does: allows you to import exported objects, such as compounds other people have made
Export Objects
Hotkey: none
What it Does: Saves your .map file as an .expobj (EXPorted OBJect)
Quit
Hotkey: Alt+F4
What it Does: Closes the level editor; it will always prompt you to save before it closes.
This isn't too bad; you'll be moving around a lot, but give it a try while I explain here anyways.
Magnifying Screens
Currently, there should be fourdifferent views on your screen. Starting in top left, moving counter-clockwise, they say Front, Top, Perspective, and Right. I've never found much use for Front, Top, or Right. You can zoom in on specified screens by pressing spacebar while your cursor is hovering over it. You can also press spacebar again to zoom back out. If you're following along, highlight the perspective screen and press spacebar to magnify it if you haven't already done so.
Moving Around The Level Editor in Perspective Mode
Rotating Camera
Hotkey: Alt + Left Mouse Button
This is more useful than zoom in a lot of cases. Click and hold down alt and the left mouse button; you should notice the border of your screen turned from red to yellow. Move your cursor like you're dragging the screen around - the same way you would if you were to put your finger on a piece of paper and rotate it.
Zooming the Camera
Hotkey: Alt + Right Mouse Button
The second most useful button. You can get by without pan if you're creative with the focus tool and tracking grid (which is what anyone without a middle mouse button is going to do). Hold down alt and the right mouse 'button'then move the cursor upto zoom in, down to zoom out.
Panning the Camera
Hotkey: Alt + Middle Mouse Button
Hold down alt and the middle mouse button, now move the cursor in any direction. From what I've seen of other people using the level editor, using pan is like placing your finger on top of a sheet of paper and pushing it around to view different parts - like the hand tool in Photoshop.
If you're now in Narnia in the Level Editor
Go down to where Grid Control is
Type 0 in the box labeled Height
Press the XZ Button
Type 0 in the height box again
Press the XYbutton (same as the XZ button)
Type 0 in the height box
Press YZ button (same as the XY and XZ button) to return the grid to normal
Building a Map
I'll try to keep this from turning in to a "do this task and then good luck" tutorial (unlike its previous unedited version). Instead, let's think of what any map is going to need. Since Amnesia is generally made from indoor environments (and outdoor environments are my downfall), let's pretend this is some sort of indoor room.
So first, we should start by figuring out how big our room will be. I'm going to just make an 8×8 room (each wall piece has a length of 4 in the level editor).
At this point, I would like to recommend that you start off making a small room. While large room can look very impressive, it is much more difficult to make them actually look interesting and not empty. What I consider 'small' is anything between 2x4 room (smallest possible room with a door) and 12x12.
To start building the room, press 6 or go to Static Objects (the lego brick in the left bar menu) and click the drop-down menu above the large white box. This will allow you to choose a base to work with. Personally, I find the mansion and castle bases easiest to work with because they have the largest variety of uses, but choose one that you would like to work with.