HPL1/Tutorials/Materials
HPL Tutorial 3.1 Materials
Introduction
Materials are used to give colour and life to the models. A material file includes the textures used and what kind of physical material it will represent. In this tutorial we will create a simple bump mapped material and attach it to the model. For more detailed information on the different materials check out chapter 4 in the Content Creation manual.
Creating the material
First of all you need to start up HPL helper and select the Material tab.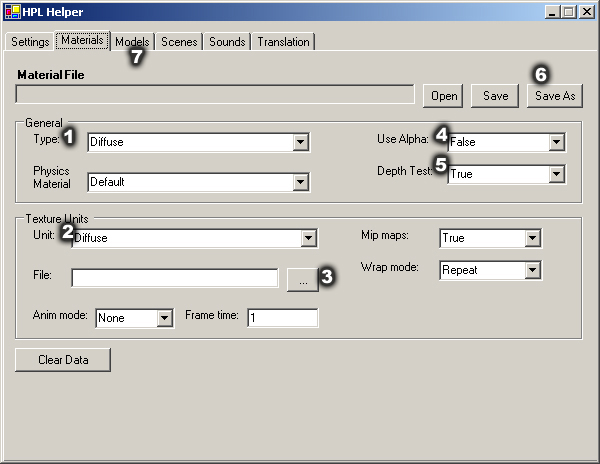
You first need to choose the type of material that you want to use. Click on the “Type” [1] drop-list and choose “BumpSpecular”. You have now chosen to create a material with a normal map and specular highlights. Following you need to pick the diffuse texture to use. The diffuse texture is what tells the engine what colours the material should have. Select “Diffuse” in the “Unit” drop-list [2]. Next up click on the “…” [3] next to the file field and select the texture of your choice, in this tutorial I am going to pick “tutrorial_3_diffuse.jpg”.
Next up is picking the bump map to use, to do this select “Nmap” in the unit drop-list and then pick the texture to use, just like you did earlier with the diffuse one. I am going to use “tutrorial_3_bump.tga” for this tutorial. If you want more information on how to do normal maps a quick Google search should give you plenty of results. I have saved this texture as a 32 bit Targa since I intend to use the alpha channel later on. (currently tga is the only format with alpha channel that the engine support, this will change though).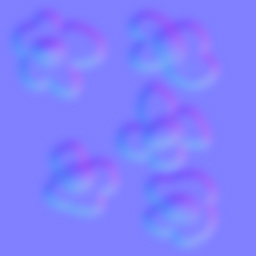
Last thing to make sure that “Use Alpha” [4] is set to false and “Use Depth” [5] to true. Now time has come to save the material. When doing this you MUST save it with the same name as the diffuse texture. Therefore I am saving it as “tutrorial_3_diffuse.mat”. Saving is done by pressing the “SaveAs” button [6].
Now open up your 3d editor of choice and open the model that you want to add the material to. This tutorial will use “tutorial_3_box.dae” which is the Collada format. Now add the diffuse texture to the model and export again. What will happen when the engine loads the model is that it will search for a material file (.mat) that is named just like the diffuse texture the model has, this is why the diffuse texture and the material file should have the same name (except the extension offcourse).
Now go to the “Models” tab [7] in the hpl helper and load the model and then press “View”. Now the model should look something like this: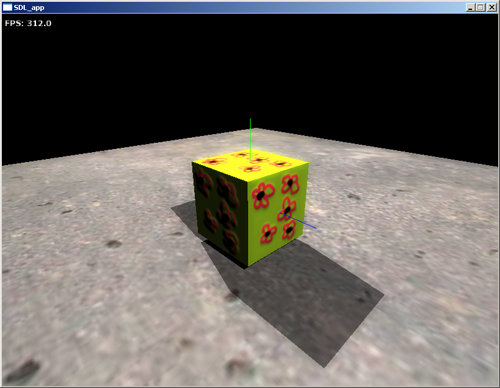
Note: Do note forget to add the directory with the model file and textures to the resource list, or else the engine will not find the files. See tutorial 1 for details.
Now say we want to make this material a bit more shiny, we are using specular bumps after all. First up we fire up our image editing program and there we open up the bumpmap texture, here “tutorial_3_bump.tga” is used. As you might recall the file was stored in a 32 bit format, this is so that the image can contain an alpha channel. When using the BumpSpecular format the alpha channel is used to define specular. Black = no specular and White = full specular. The alpha for the “tutorial_3_bump.tga” was made like this: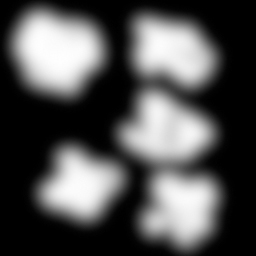
And here is how it looks in engine: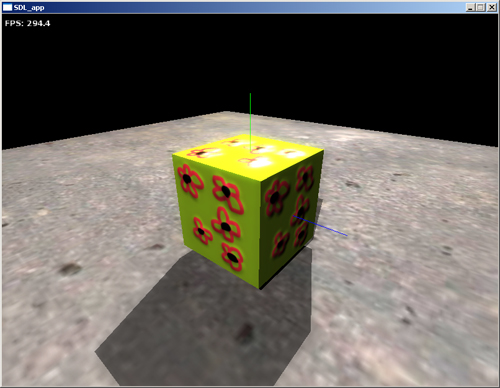
Notice how it shines on top.
As final exercise lets add some glowing stuff on the material. Go to the material tab again and now select “Illumination” in the Unit drop-list. Now select the texture to use for illumination, I will be using the “tutorial_3_illum.jpg”. 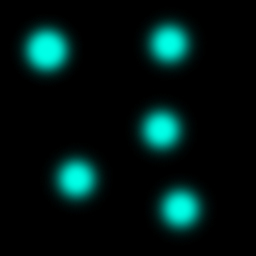
Below is the final result.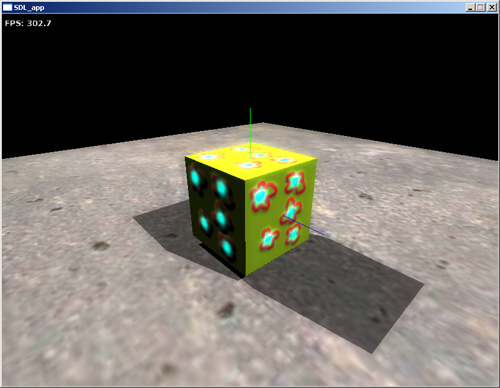
And that is the end of this tutorial. Hope you have learned something useful.