HPL3/Amnesia: Rebirth/Tutorials/Inventory items
This tutorial will explain how to create a custom item that can be picked up, added to the inventory, and used on other entities.
Contents
Tutorial
Creating an ItemType
Let's start by creating an item type. Keep in mind that an ItemType isn't the same as the physical in-game item entity, so a single ItemType can be used with multiple different entities.
Open config/Inventory.cfg. This file contains a list of all ItemTypes in the game. Add a new <ItemType> tag:
<ItemType ID="ItemName">
    <Inventory Icon="icon_file_name"/>
    <Use OnWorld="true" CanUseOnWorldMapCallback="CanUse_ItemName" UseOnWorldMapCallback="OnUse_ItemName"/>
</ItemType>
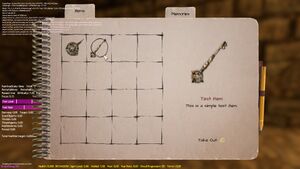
The icons for items shown in the inventory are stored in graphics/inventory/items and saved in the DDS format. Replace icon_file_name with the name of your icon file, and change ItemName to whatever you want to call your item type.
Setting the OnWorld attribute to true will allow this item
type to be used on other entities in-game.
CanUseOnWorldMapCallback and UseOnWorldMapCallback are functions that determine which entities the item type can interact with and what happens when it's used on an entity, respectively. We'll get back to these later.
A detailed list of Use attributes and available functions is located in the beginning of Inventory.cfg, but to keep things simple we'll only be using the three shown above.
Item name and description
Now let's give the item a name and a description that will show up when the item is moused over in the inventory. Open config/lang/english.lang and add two entries to the Inventory category: ItemName and ItemName_Desc.
<LANGUAGE>
	<CATEGORY Name="Inventory">
		<Entry Name="ItemName">Test Item</Entry>
		<Entry Name="ItemName_Desc">This is a simple test item.</Entry>
	</CATEGORY>
</LANGUAGE>
Placing the entity
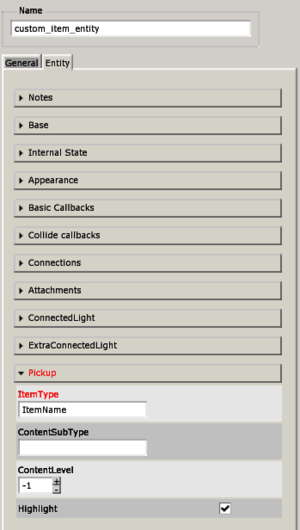
In the level editor, choose an entity to represent the item in-game. Select it, open its Entity tab and look for a section called Pickup. If it isn't there, that means that the entity is either a physics object or a static object and you won't be able to pick it up in-game. In that case, open the entity's ENT file, scroll down to the <UserDefinedVariables> tag and change the EntityType attribute to Prop_Pickup:
<UserDefinedVariables EntityType="Prop_Pickup">
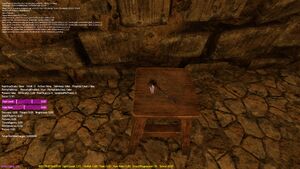
Now re-add the entity to the map. The Pickup section should now appear. Expand the section and set the ItemType attribute to the ID of the item type you created in Inventory.cfg. Now, when you click on the item in-game it will be added to your inventory.
Item scripting
Open the map script and add a new function called CanUse_ItemName:
bool CanUse_ItemName(const tString &in asItemType, const tString &in asItemID, const tString &in asPickedEntity)
{
    if(asPickedEntity == "ExampleEntity1" || asPickedEntity == "ExampleEntity2")
    {
        return true;
    }
    return false;
}
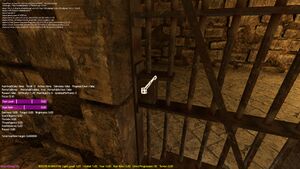
This is one of the functions we set in the config file, and it determines which entities the item can interact with. The asPickedEntity parameter contains the name of the entity the player is looking at at any given time. If the function returns true, the player can use the item on the picked entity. In this example, the function returns true if the picked entity is named ExampleEntity1 or ExampleEntity2 (ie. the player can use the item on either of these entities).
Finally, let's add one more function.
bool OnUse_ItemName(const tString &in asItemType, const tString &in asItemID, const tString &in asTargetEntity, const tString &in asItemEntity, float afTimeElapsed, float afTimeStep)
{
    if(asTargetEntity == "ExampleEntity1")
    {
        // Insert code to interact with ExampleEntity1
    }
    else if(asTargetEntity == "ExampleEntity2")
    {
        // Insert code to interact with ExampleEntity2
    }

    return false;
}
This code runs when the player clicks on an entity while holding the item. As shown above, this time the name of the clicked entity is stored in asTargetEntity.


