Hpl2:Tutorials:level editor:outdoors
Contents
Creating Outdoor Levels
This page contains general guidelines about creating outdoor levels, rather than being a step-by-step tutorial. It is assumed you already know your way around the Level Editor.
About randomness
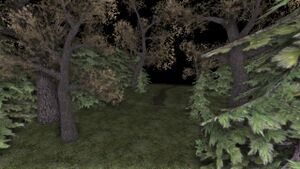
Objects in a nature scene are seemingly placed at random. Take a look at any photograph of woods, for example; chances are that you're not gonna see any regular patterns. This is the look one needs to achieve when creating a nature scene.
First, make sure you have at least a few different plant models. Plants rarely form one-species colonies, usually there's a mix of many different plants. In author's experience, 3-4 types of tree and 3-4 bush or weed models is enough (there are some very good tree models in Amnesia: the Machine for Pigs).
Second, and more importantly; Make sure that plants aren't forming any regular patterns and that every model is rotated differently. Using the Q/E rotation feature is enough, just make sure that plants rotated in the same direction are far enough from each other not to notice it.
Ground
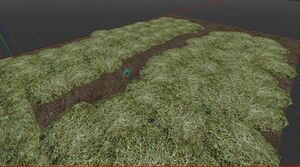
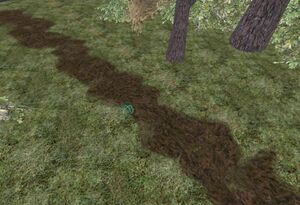
The absolute best method of creating the ground would be to get a custom terrain model. A more available, still good way to create the ground would be to 'sculpt' with retextured (e.g. as grass) dirt_pile models and leave a path texture underneath them:
However, if that sounds too hard for you, you can use an alternative method:
ᅠ
The process of crafting the path shape will be left for later, since an outline for the level is needed first.
The outline
Unfortunately, due to HPL2's limitations, creating a wide expanse of trees which will serve as the background cannot be afforded. Besides, the player's movement needs to be constricted in some way. The following method of making a tree border is recommended due to visuals and good performace.
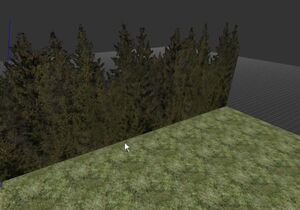
Locate the tree backdrop texture static_objects/outside/ground/zimmerman_ground_forest.mat, and create a vertical section which you will copy or extend. Now use that section to outline a rough parameter around your outdoor area.
Make sure not to leave any narrow corridors, as tree models will be placed inside those textures, and will block the passage unless they have enough room. If there are any narrow indentations in the tree line, don't use this backdrop to create them - tree models will be enough. To create a level transition which isn't an entrance to a building, make a corridor with a sharp turn, beyond which the player won't be able to see.
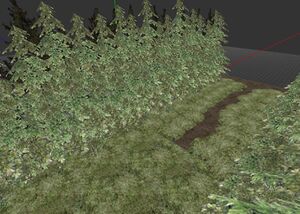
Now you're ready to start placing trees. Firstly, to finish the outline, densely place tree models just in front of the backdrop. Of course you could use other models, but Amnesia's lowpoly pine model (static_objects/outside/tree/pine_lowpoly_2) is great for this purpose (and it helps the performance as well).
After covering the whole perimeter, start placing regular tree models a bit further from the backdrop (make sure to differentiate and rotate the models!). You can place some trees in the open as well. Since you should be disabling the collision of all of the trees, you need to recreate it using the block_box entity (unless you have a custom tree entity, of course).
Paths
Let's get back to the topic of paths. Having created the outline, paths should be placed next, as they will be the basis upon which the details will be made.
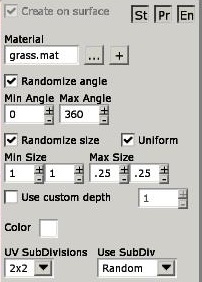
The following only applies to the alternate method of making paths: Select a decal of choice (the vanilla grass decal actually does a great job of looking like grassy soil). Check the "Rotate randomly" option, and set the range from 0 to 360 degrees. Then set "Randomize scale" from, for example, 1.0 to 1.25. Setting a constant scale works as well, just make sure it's big enough to minimize the number of placed decals and that it's small enough not to look bad.
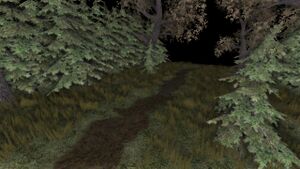
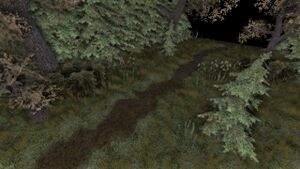
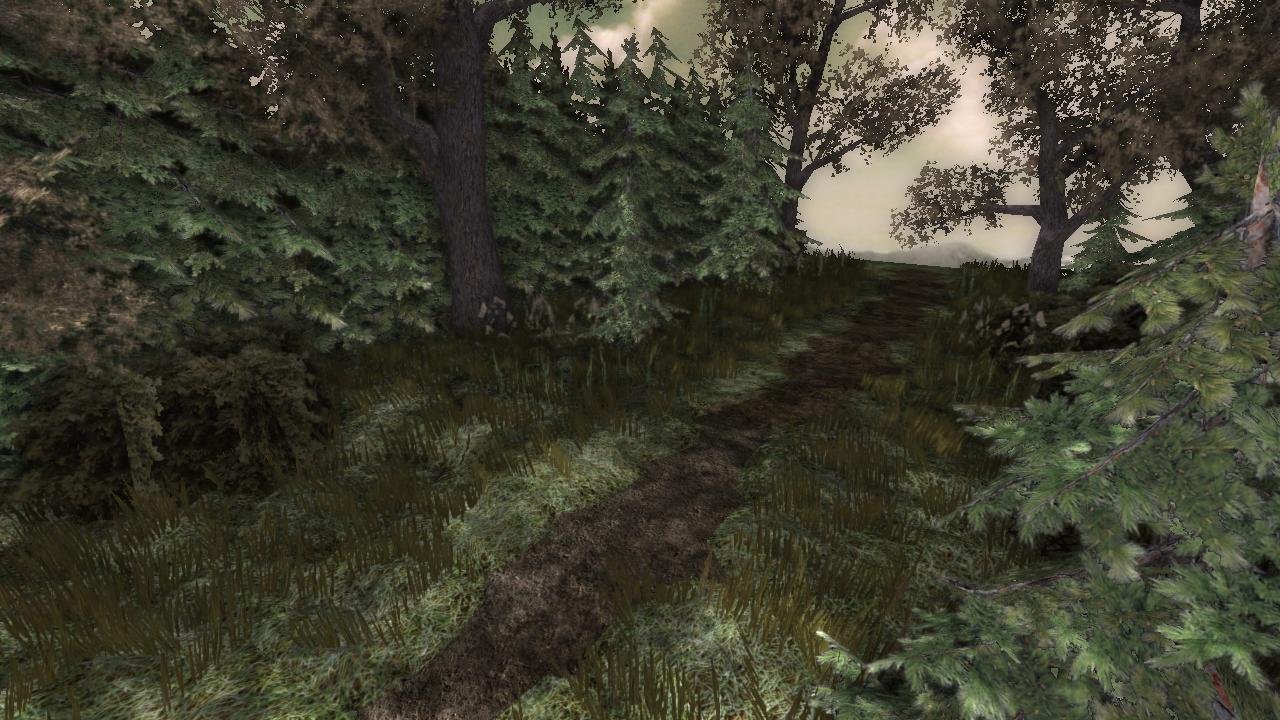
This applies to both methods: Start "drawing" the paths by placing the assets or decals. Make sure that the path is rather irregular, jagged at the edges.
Grass
This step is optional, but will greatly improve the maps looks. Place the grass model all over the map, save for the places where paths are placed.
Important! If using the static object grass, make sure to disable collision. Alternatively, and more conveniently (it saves a lot of time), a custom grass entity which doesn't have collision can be created.
Unfortunately the default grass texture doesn't blend in with the used grass model very well, so take that into consideration when choosing a grass textures. Matching them with the grass model's texture will yield best results. Furthermore, a retextured grass model can be used.
Details
The level should look roughly fine by now. To add some flair to it, let's place details; Place the following models here and there:
- Rocks from the debris folder (submerge them in the ground unless they're the flat ones)
- The gravel and puddles from entities/decals (or static objects/decals)
- Bushes or other foliage models which you have.
Just make sure not to overdo it, models of the same kind should not be clustered together too much.
The backdrop
What you have already is more than enough, but you can spice it up even more! You can place the dirt_pile model (scaled ~100 times) moderately far behind the backdrop textures to make them look like hills or mountains. To amplify the effect, place some trees on those hills. You can also place some cloud billboards, and perhaps a moon, if there isn't one on the skybox. Speaking of skyboxes, having one is pretty much necessary - a unitone sky doesn't look good at all.
Lighting
This is a topic for a whole different article, but here are some general tips.
Cover the whole level with a BoxLight. Make sure it isn't too bright (>0.7), because it will look bad even if you're making a day scene. If you need sharper lighting, you can place some SpotLights in the sky here and there. Enabling shadows on them looks great, but unfortunately can decrease the performance significantly, so use it with caution. Use PointLights in the more lit areas (e.g. between trees).
Unfortunately, the MFP trees don't cast nice shadows, so a custom gobo was made for this tutorial. It can be downloaded here.
Man made structures
So what about buildings? Except for making castles and shacks, some Machine For Pigs assets will be needed for regular buildings. If not using the MFP assets, here's some misc advice:
- Rooftops can be created with upscaled planks
- Make sure to work some windows into the building
- Don't make the building a one solid brick; add balconies, protrusions etc.
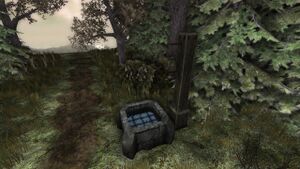
But what about other structures ? You can create roads by elevating a texture above the grass and surrounding it with a curb; Those can be made using the railing from castlebase and submerging it into the ground. Not the best move resource-wise, but for small maps it will be fine. Generally, a lot of stuff can be made using planes and reusing models for something else. For example, here one of the square windows from castlebase is used to create a small fountain or a planter.
Closing statements
The level should be pretty much done by now. Of course the scene can have even more things, like fog, sound entities (there are even some fitting ones in the TDD assets), particles (e.g. everyone's favouorite ps_light_dust_large.ps fits well) or elements such as described in the previous section (e.g. lantern posts).
