HPL2/AMFP/ColorGr
Jump to navigation
Jump to search
Contents
Color grade texture creation
Overview
Color grading is a way to map the color of a pixel to another color. This can be used to change the brightness, contrast, hue, saturation, … of a whole image.
It is possible to smoothly fade between two different grading templates.
It uses a small 3D texture with a color as input and another color as output.
Requirements
- Photoshop or any other image editing software
Setup
- Take a screenshot of the game with color grading disabled
- Open the screenshot in Photoshop
- Drag and drop the default grading texture on the canvas (\textures\gradingmaps\colorgrading_base.png)
- Place the color strip anywhere in the image
- Flatten the image to merge all the layers
- Select “Image > Mode > 16 Bits/Channel” in the top menu
Adjustments
- Use any of the options in “Image > Adjustments”
- These can be used to change the brightness, saturation, contrast and so on
- Any changes you see on the image in Photoshop will carry over to the game
Layers
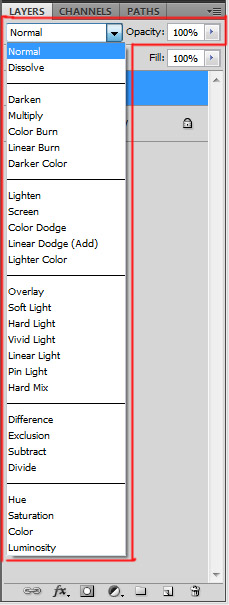
- It is also possible to use the any of the layer blend modes
- There are two kinds of layers allowed:
- Solid color
- Dupilcate of the first layer
- It is possible to duplicate the first layer and make adjustments to it and then blend it
- The use of Layer Masks is allowed as long as they are generated from the image and not hand painted
Saving
- Crop the color strip from the canvas, make sure the resulting image is 256×16 px
- Select “Save As…” and set the format as “PNG" and save it in the folder “\textures\gradingmaps”
