Creating a Mod
|
This article is actively undergoing a major edit. The user who added this notice will be listed in its edit history should you wish to contact them. |
This article describes in detail how to create, setup and structure you mod.
MinimalAddOnMod and MinimalCustomMapMod. You can copy them or use them as reference for creating your own mod.
Contents
Mod Types
SOMA has two mod types: Stand-Alone mod and Add-On. Technically speaking, the only difference between them is that an Add-On can be run along with a Stand-Alone mod. However, a mod type shall be picked according to the nature of the mod you make, for contentions sake.
Stand-Alone Mod
A Stand-Alone mod describes a mod of extensive game modification: Custom assets, Custom scripts and even overrides of existing game scripts. If your mod is going to have any maps in it, it's probably a Stand-Alone mod.
Add-On Mod
A Add-On mod describes a mod with of specific or limited game modification: Minor config, graphical or script changes that tweaks an existing feature of the game. If your mod touches on small feature, it's probably an Add-On mod. For example: An Add-On that adds a Russian translation to the game.
Mod Structure
A typical mod structure (folders and files) may look something like this:
modFolder/
├── config/
│   ├── lang/
│   │   ├── english.lang
│   ├── main_init.cfg
├── maps/
├── resources.cfg
Mod Entry File
When creating a mod, be it a simple add-on or a fully fledged total conversion, an entry file is needed so that the mod can be listed by the ModLauncher application or simply be started by the game.
This means that an XML file with name entry.hpc needs to be created in the root directory of the mod, and its contents will depend on what kind of mod you are creating.
Common Attributes
Any valid entry.hpc file will have at least the following attributes:
- Version: The version for the mod, since the mod might get updated in the future.
- Type: The type for the content the mod is offering. Possible values are
"AddOn"or"StandAlone". - Title: This sets the title for the mod. It should not be longer than 128 characters, especially if the mod is to be uploaded to the Steam Workshop.
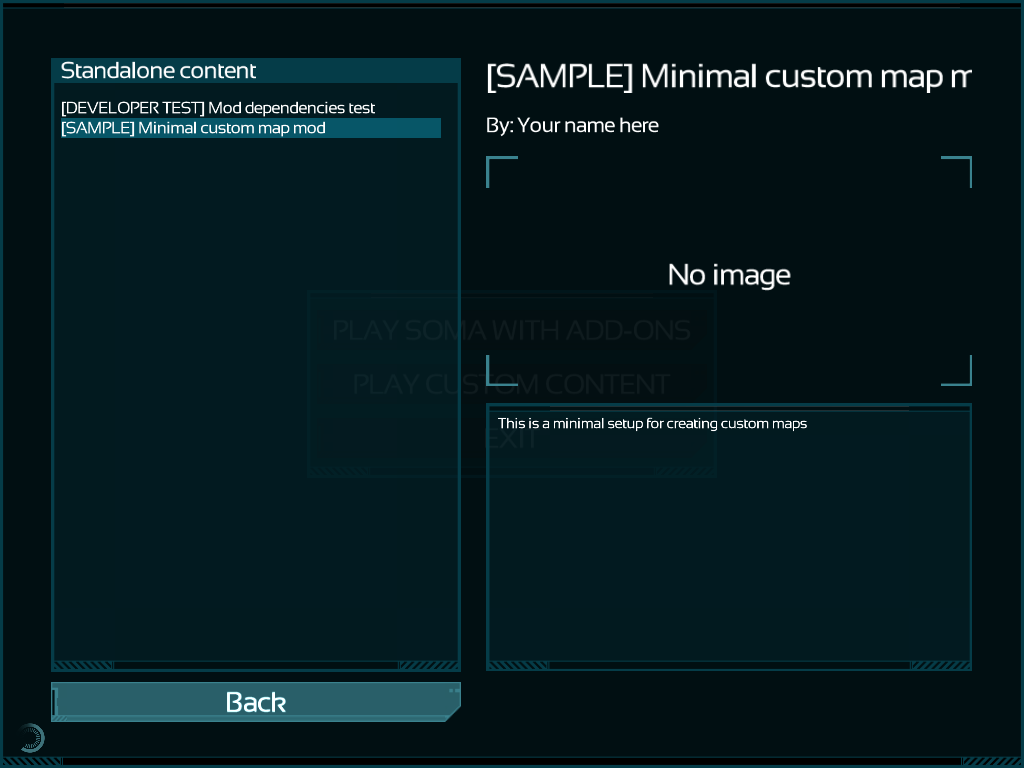
- Author: The creator(s) of the mod. This will be shown below the title on the info column in the ModLauncher application.
- Description: The description of the mod. Should not exceed 8000 characters for the same reason as the title.
- LauncherPic: The file to be used as a thumbnail picture for the ModLauncher application.
- InitCfg: The relative path to the file which information when initializing the mod. The default value is
"config/main_init.cfg"and usually shouldn't be changed.
Special Attributes
There are special attributes when can be added to a mod entry file in order to enable optional functionalities:
- UID: A string in the form
"provider_name.mod_name". This is used so other mods can reference your mod as a Mod Dependency - Dependencies: A list of UIDs separated by commas. The resources in these mods will be available to the game when the current mod is running.
Setting up the Entry File
There are two ways to set up the entry file. Either:
- Use the SOMA Mod Manager to easily create or edit the file.
- Set up the file manually:
- Create a file named
entry.hpcin your mod's root folder. - Paste the following content into the file and save:
<?xml version="1.0" encoding="UTF-8"?>
<Content Version="1.0"
	Type="StandAlone"
	Title="Your mod name here"
	Author="Your name here"
	Description="Mod description here"

	LauncherPic="LauncherPic.png"
	InitCfg="config/main_init.cfg"
/>
Change Type to AddOn if necessary.
Mod Configuration
In addition to the mod entry file, the mod needs to be correctly configured in order to load resources such as maps, script, sounds, sounds, etc.
Read the following pages in order to understand how to set up and configure them:
Running the Mod
There are two different ways to run a mod:
- Using the Mod Launcher app: there's a special Mod Launcher program that will scan subscribed content in SteamWorkshop (where applies) and the local "redist\mods" directory. To make your mod entry appear in the launcher's list, it must be located in its own directory under the "\mods" directory. For example, a mod for SOMA in a directory called "my_mod" would need to have the path "C:\Program Files (x86)\Steam\steamapps\common\SOMA\mods\my_mod"
- Using the command line: to run a mod directly, you only need to run the game executable passing the "-mod" option followed by the full path to the mod's "entry.hpc" file as arguments. Using this method, the mod can be placed anywhere as long as the path to the "entry.hpc" file passed is correct. For the previous example, given the full path for the mod "my_mod" is "C:\my_mod\", the command line for running it should read like this:
soma.exe -mod C:\my_mod\entry.hpc